Solar Power for the Amateur Radio Station
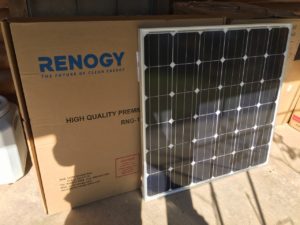
After adding some solar power to our teardrop trailer, I realized how easy it would be to power part of my amateur radio station the same way. Solar panels and charge controllers had gotten relatively inexpensive, and with the addition of the Elecraft K3 to my station a few years earlier, there was another good reason to try: such a power efficient radio would operate for hours on a modest setup. Also, it would allow me more experience with solar power. Once imagined, I was eager to start.
A few “back of the napkin” calculations suggested that a 100-watt panel wouldn’t be enough. The K3 draws roughly 1 amp in receive mode, and the transmit modes, used intermittently, don’t add much to that. That meant I would need about 24 ampere-hours at 12 volts for daily operation. A group 27 lead-acid marine battery was available from Costco for about $80. This battery will provide about 90 ampere-hours to full discharge. A 100-watt solar panel provides about 6 amps in full sun. Ideally, I wanted about 3 days of storage against overcast skies. Time to work the formulas.
Starting with the storage, it looked like I would have some difficulty without having multiple batteries. Lead-acid batteries don’t like to be fully discharged, and it’s best to drain them only about 50%. That left me with about 45 amp-hours of usable storage. Good for two solid days. Not too bad.
On the charge side, It would be nice to completely recharge the battery in one day. On average, we get about 4 or 5 hours of full sun per day in Central Texas, so a 100-watt panel could provide 24-30 ampere-hours of charge per day. Not quite enough to charge and operate some as well. Looking at the various solar panel offerings, I discovered that Renogy made a 150-watt panel that was about the same cost-per-watt as the 100-watt models. That would provide the extra margin I wanted without dramatically raising the cost.
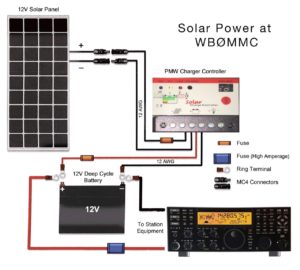
Now to the charge controller. These are divided into two types: “Pulse Width Modulation (PWM)” and “Maximum Power Point Transfer (MPPT).” The PWM controllers can be very inexpensive — on the order of $20 for a 30-amp throughput — but they are less efficient than the MPPT variety. The majority of opinions on the ‘net suggested that the added cost of an MPPT controller wasn’t worth it for installations of less than 200 watts, so I decided on a PWM model. Time to get the parts.
- Renogy 150-watt solar Monocrystalline solar panel
- HQST 30-Amp PWM Charge Controller
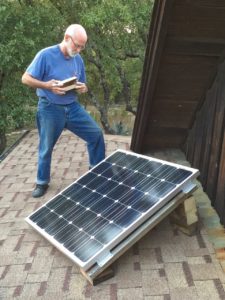
- Renogy Solar Panel Mounting Z-Brackets
- 5 pairs Yoba MC4 Solar Panel Connectors
- Cerrowire 100 feet 12-2 Landscape wire
- Camco Large Battery Box for Group 27 Battery
- Group 27 Marine Battery
Most of the solar parts are available on Amazon, but the wire was cheaper at The Home Depot and the best deal on the battery was at Costco. Various ring connectors and other hardware I had on hand. Total cost for the project was under $400.
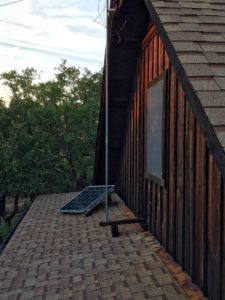
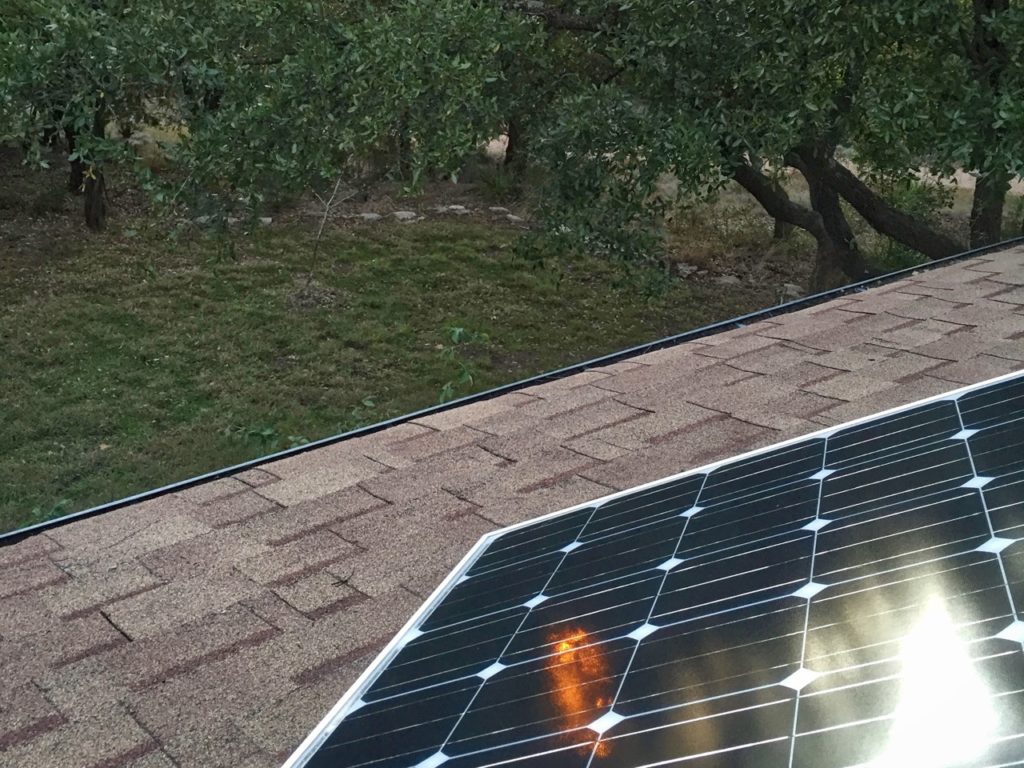
It took only a couple of hours to install. Most of that time was spent getting the wire into the ham shack, through the thick log wall of my house. Roof installation was easy with the z-brackets, and the wiring was straightforward. And best of all, I can now operate my radio nearly indefinitely — even in a power failure!

Pingback:Solar Powered Rainwater Project | Roy Creek Ranch