How to Mount A Solar Panel Array

Designing the Array
With the Solar Generator Project underway, it is time to mount the solar panel array. Last May, I purchased eight Renogy 270-watt solar panels similar to those in the Solar Rainwater Project. At 65 by 39-inches, and weighing 65 lbs., they require a substantial mounting system. In the Solar Rainwater System, I had the advantage of an existing building with a south-facing roof that could hold four panels. It was easy to mount the other two to the front of the building, so very little effort was needed.
The shop’s roof, on the other hand, is completely shaded. Mounting the panels near the ground was appealing for it’s simplicity and ready access. Amazon lists several mounting systems, but none of them suited my situation. Most wouldn’t work well with large panels, and cost was also a factor. I began thinking about a wooden structure that could mount all eight panels.
There were several design considerations:
- A south-facing, sunny location
- short distance from the shop to reduce copper wire cost and limit energy loss
- Resistance to occasional high winds
- ease of service
- Expandability
Locating the Solar Panel Array
Roy Creek Ranch is heavily wooded with Live Oak and Ash Juniper, so finding a location that is sunny year round is a challenge. Initial sketches needed an area about 11 feet square with as few trees as possible to the south. They would shade the array — especially in the winter when the sun is low in the sky. Scouting the area around the shop, I noticed a clearing. There were a few Junipers shading the clearing, but they could be easily removed.
Laying out the Foundation
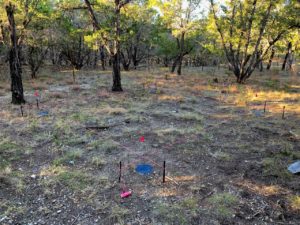
Using steel concrete form stakes, I laid out the footprint. Four vertical posts would be arranged in an 11-foot square. Two 10-foot posts on the north edge and two 2-foot posts on the south edge would be joined by a platform angled at 34 degrees. The panels would be arranged horizontally on the platform in two columns of four rows. About an hour later, flourescent Mason line marked the location of each of the four holes for 8-inch concrete piers.
Every project starts with a hole . . .
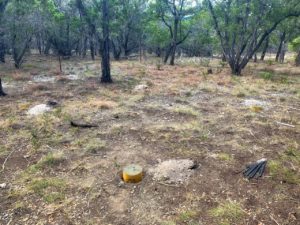
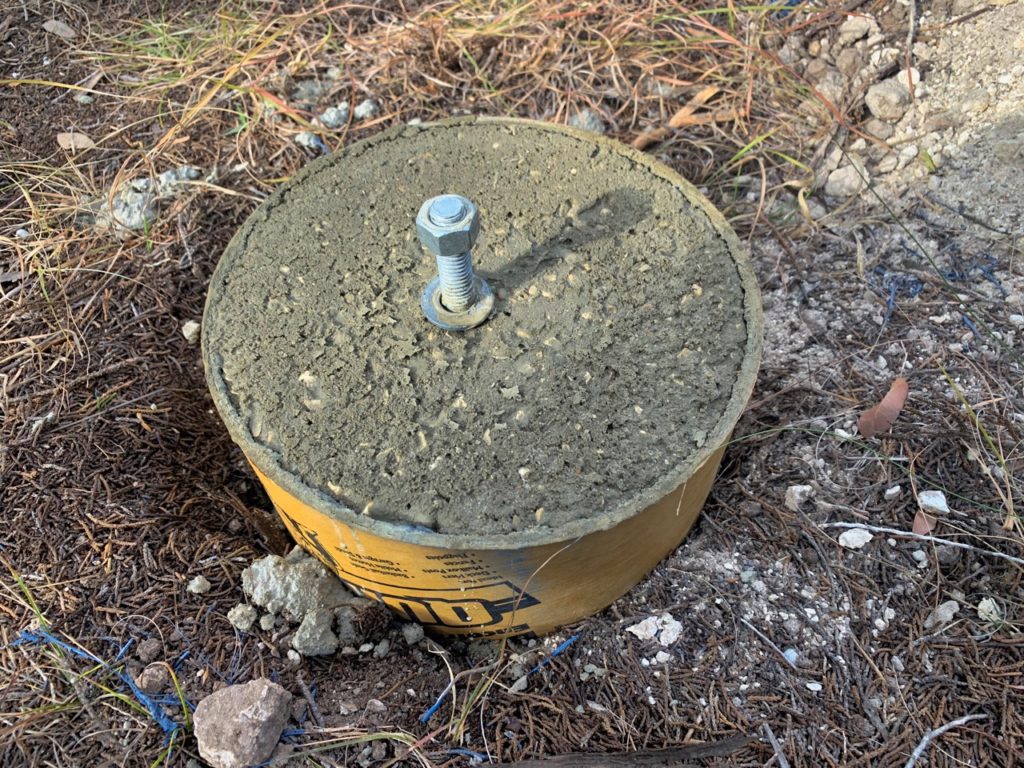
Bright and early the next morning, I started digging. My plan was to use leftover sections of 8-inch Quikrete concrete forming tube to form piers that were about 18 inches long with about 1 foot underground. A couple of short rebar sections would be buried in the concrete with a 6-inch anchor bolt sticking out of the top to attach a steel 4-by-4 post mount.
The ground here is caliche — a white limestone soil that hardens into rock when dry and compressed. It is difficult to dig. There is 2 to 4 inches of organic soil on top — easily removed with a spade. I’ve dug many holes in the caliche over the years, using everything from a post hole digger to a steel rock bar. A little power helps and an 18-volt hammer drill with a 12 by 3/4-inch rock drill is by far the best. I was able to dig each hole in about 15 minutes with relative ease.
The Concrete Pour
With holes dug, we were ready for concrete. Four holes used almost three 60-lb bags of Quikrete. In order to suspend the anchor bolt in the pier with some precision, I used 1-foot square pieces of 1/8-inch plywood with a 1/2-inch hole in the middle. With the J-hook positioned in the soft concrete, I fed the threaded end through the 1/8-inch plywood and secured it with a washer and bolt. The plywood could be moved back and forth to position the hook exactly. Finally, I used a small level to adjust the concrete forming tube sections to level the pier.
24-hours later, we had four concrete piers — ready for service. Next, we start framing . . .


Pingback:A Practical 2 KW Shop Solar System | Roy Creek Ranch