
A Great New Air Compressor for the Shop
The Old Air Compressor is Dead
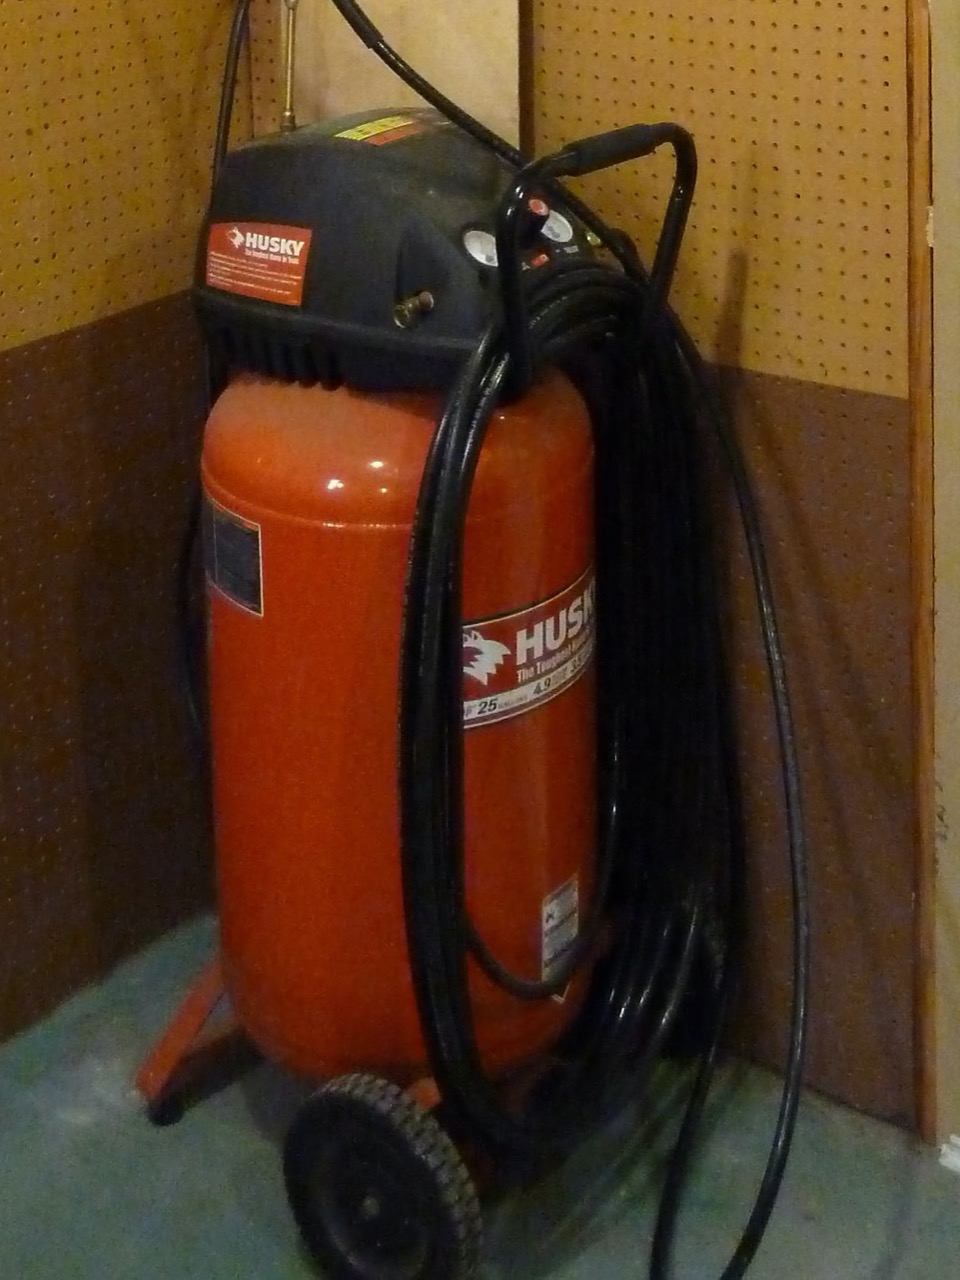
I’ve had a small air compressor in the shop for over a dozen years, and it’s served me well. Inflating tires, brad nailers, blowing dust — even some small air tools — it’s been fine. I turned it on recently, and it sounded much different. It’s always been noisy being one of those oilless types, but this sounded much worse.
A little later, I had it apart and discovered that the plastic motor housing had cracked — it was going to need a new one. A little rummaging around the Web, and I discovered that parts were no longer available for this model. Not too surprising given its age, and our society’s proclivity for the new and novel. Besides, it was a chance to upgrade the shop’s compressed air system so I could run a wider variety of air tools.
Shopping for a new air compressor

After a little more shopping, it became clear that the Husky model C602H would be best for my needs. At about $650, it was a little more expensive than I had hoped, but much less than other floor-mounted, 2-cylinder models. With a 60-gallon tank and a 3.7 HP motor, it could deliver a continuous 11.5 Cubic Feet per Minute (CFM) at 90 PSI. Enough to use most air tools continuously. The only trouble was, I was going to have to mount it to a substantial pad. Time to dust off the concrete tools.
First, We start with a hole . . .
The shop is already crowded, so mounting it outside seemed best. This would allow easy routing of both 240 VAC power and piped air inside and outside of the shop. My plan was to end up with two air outlets under the shop extension, and another inside the shop feeding a retractible air hose. The breaker box is just behind the wall, making electrical connections about as easy as they can be. I was going to have to dig a hole though — my favorite activity in the Hill Country caliche.
Forming up a concrete pad

A three-foot square pad would be sufficient, and I happened to have a wooden form already made from an earlier project. It didn’t take long to make the 3-by-3 hole about 4-inches deep, and I encountered the power feed for the shop along the way.

A length of UF-B direct bury cable connects the shop to the service entrance about 50 away. Fortunately the cable, and the conduit it passes through to enter the shop was buried deep enough. It was also good to document exactly where the cable is should I ever have to service it. With the hole squared off, I suspended some concrete mesh about midway between the top and bottom of the wood form and was ready for concrete.
The Big Pour

I figured about seven 60-pound bags of Quikrete would be enough, so I had 9 of them on hand — just in case. Mixing them three at a time, my estimate was close. Before long I had the form filled and smoothed off. My concrete skills are limited, by I was able to finish the slab with a reasonable surface and both level and flat. The top was about an inch below my shop floor, and level with where I intend to pour a larger slab in the shop extension. That way, water that may collect on the future slab won’t be able to flow into the shop easily. I then let the concrete cure for several days.
Mounting the new air compressor

The compressor was delivered from Home Depot several days later ( a real help since it weighs over 200 pounds), and the delivery driver even helped me take it off the shipping pallet and set it on the slab. The hardest work was now done. The compressor has four perforated legs for mounting. With it positioned on the slab, I marked the holes and moved the compressor slightly to one side. The anchor bolts required a 3/8-inch hole, and a concrete impact bit made short work of that. Tapping the anchors into the holes in the slab and tightening the hardware finished the job. I did have to shim one foot slightly since either the feet weren’t complete level or my concrete pad wasn’t completely flat. I’d bet on the second.
Air and Power Hookups

I hadn’t planned the plumbing for air delivery in the shop yet, so I hoped to reuse the pressure regulator and gauge from the old compressor. A little hunting in my plumbing “junk box” produced the adapters needed to make this work.

I mounted the regulator and gauge to the compressor mount using existing holes, and voilà, I had a working air outlet. Lastly, the compressor needed power. Fortunately, the breaker box for the shop is mounted in the wall directly behind the compressor, and drilling a hole in the siding and removing a knock-out gave easy access to power. I had planned for expansion when I wired the shop, so there were extra breakers that I could use to connect the 240 VAC to the compressor.
It’s great to have a compressor again. It isn’t much quieter than the original one, but now I can run every air tool I own (and many I would like to have) with ease. As I mentioned in a post on our sister blog, RoyCreekRanch.com, although it draws 3.7 amps at 240 volts, it will run with the new Shop Solar Power System. I love it when a plan comes together!
I am really impressed!!!
Thanks!