
Arduino Connects MacLogger DX to Cheap Antenna Rotator
IR Remotes in the Shack
I’ve been using MacLogger DX (MLDX) for several years now, and would like to have it connect with my antenna rotator. It supports several models, and can automatically command a rotator to a heading or “bearing,” based on a ham’s QRZ location. Thus, whenever I look up a prospective contact, the beam can already be turning towards their QTH. Handy.

Unfortunately, I’m using a consumer-grade TV antenna rotator to swing my 6 and 10 meter beam. It doesn’t have any provision for remote control other than an infrared hand-held remote. On the other hand, it only cost about $100, and it’s worked fine with that small beam. Could an Arduino help?
Remote Control — Old School
Infrared (IR) remotes have been around for a long time. Years ago, I was employed integrating classrooms at a local school. We were standardizing all the classrooms with a common touch panel interface to control various media equipment like document cameras, computers, VHS decks, and CD players.

At the time, there weren’t many professional media equipment options. Most of the devices we used were consumer-grade, so we used an industrial interface from AMX corporation. They provided the touch screen, a central controller and wired infrared emitters that were adhered to the front of the consumer devices over their IR receivers. The wired IR emitters simulated the hand-held remotes on CD and VHS players.
My job was to create the user interface on the touch screen, and program the central controller to fire the IR emitters. Remembering that experience, I thought maybe something similar could be used to control an antenna rotator.
MacLogger DX – Arduino solution
Coincidentally, I have been interested in microcontrollers like the Arduino and have been looking for a ham radio-related project for my station. As I thought about the problem, it seemed conceptually simple: translate the serial control codes produced by MacLogger DX into a series of infrared codes (IR codes) that would move the antenna to the desired bearing.
To do that, I would have to answer a few questions:
1. What IR codes did the antenna rotator use?
2. How could I generate those codes?
3. What serial messages from MacLogger could be used to control the rotator?
Reading the Codes
I knew the Arduino could read IR codes with an appropriate IR sensor, and produce IR codes with an IR emitter. I had purchased an Arduino kit for a nephew’s Christmas present a couple of years before, and got the same kit for myself thinking we would go through the projects together. Well, best laid plans and all that, I had never opened the kit.

Looking through it now, I discovered an IR detector. The project for it was quickly wired up, and before long I had captured a list of the codes for the antenna rotator. They were simply character strings that could be represented in hexadecimal.
First question answered.
Generating IR codes
How would I generate an IR message from those codes though? An Internet search revealed that IR controllers commonly use a 38 KHz carrier formed into a series of rhythmic pulses. Wait, what? That sounds like Morse code! A very helpful video on YouTube confirmed this. It could be as simple as keying a 555 timer (set to generate a 38 KHz signal) fed into an infrared emitter.
While keying a 38 kHz carrier was appealing to my Ham-Radio-based mind, there is a second, simpler strategy: let the Arduino pulse the IR emitter directly. Part of an IR library, when added to the Arduino command set, can be used. For instance, there is a command that will send the codes captured earlier directly.

Further research revealed a little more sophisticated approach. The library IRremote, originally written for the Arduino by Ken Shirrif about 15 years ago, held the key.

I Installed it in the Arduino IDE, and successfully generated IR codes with an Arduino Uno using an infrared LED salvaged from an old remote.
The library has been upgraded with many improvements over the years to version 4.x, but I ended up using version 2.6 because it had the simplest implementation. If I was building something that required more complex IR interactions, the newer versions would be better.
Second question answered.
Learning MacLogger DX’s antenna rotator behavior

The third question was a little more tricky. First, I looked through the rotators supported by MLDX. I didn’t expect the Channel Master CM9537 Antenna Rotator to be one of them, and imagined combing through protocols for the various control methods (ugh!). One protocol stood out though: “EZ rotator.” Sounds good to me.
Another Internet search quickly revealed it was designed by Idiom Press for their rotator controllers that were designed to upgrade older CDE rotators to modern digital control. Best of all, the very simple protocol only used two commands: “Inquiry” and “Set Bearing”. My kind of command set.
I would like to report that responding to commands from MLDX with the Arduino was a snap, but it turned out to be more difficult than I imagined. Without sharing the gory details, let’s just say I wasn’t able to get the recommended method of capturing and interpreting character strings to work reliably. After many hours of work, I was finally able to receive an “inquiry” code from MLDX and respond with a bearing response about 50% of the time. Not good enough.

I finally remembered having several Arduino for Ham Radio books. Written by Glen Popiel, KW5GP, they are a treasure trove of projects complete with hardware builds and code examples. One of the projects, an Az-El rotator controller, held the key. After helping myself to Glen’s methods, I had success. Reliable communication between MLDX and the Arduino.

One other tremendously helpful thing were the debug logs provided by MLDX. There is a checkbox on the rotator configuration page (settings -> rotor) to turn them on. You can find the resulting logs in /Documents/MLDX Logs on the Mac.
From these logs, I was able to see exactly what MLDX was sending for each interaction, and how the Arduino (with my suspect code) responded. This is also where you make the “Floating Bearing Display” visible. More on that later.
Third question answered.
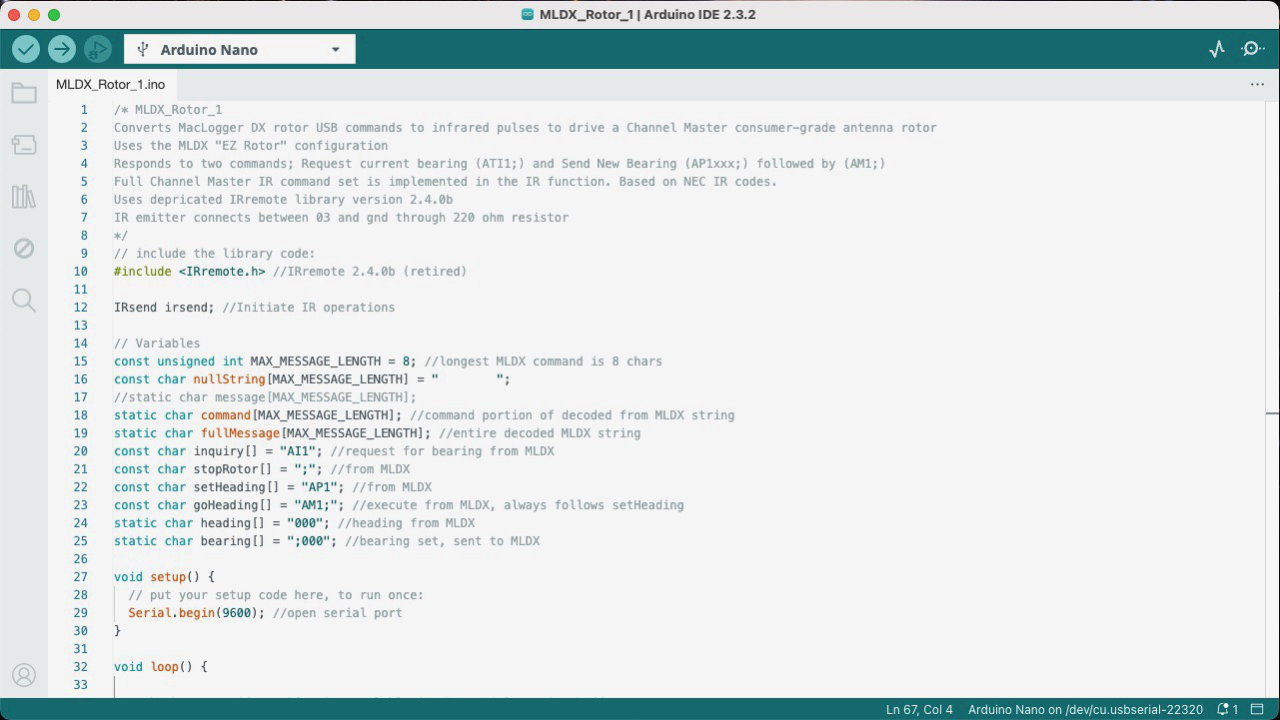
Coding the Arduino app
The Arduino software has to do three things;
- receive a command via the serial port from MLDX
- interpret the command
- respond to MLDX and/or send a series of IR codes to the rotator
As mentioned earlier, there are really only two commands we use. In the first one, MLDX sends an “inquiry” command (AI1;) about once every second. This “heartbeat” causes the rotator to respond with the current bearing in degrees and lets MLDX know that a rotator is connected. In other words, “Are you there and where are you currently pointed?”
The other command causes the rotator to spin to a new bearing. Think of “programming” the rotator with the command (AP1xxx;). The “xxx” represents the new bearing in degrees. MLDX always follows this command with the “Go” command (AM1;), but we don’t really need to detect it since MLDX doesn’t implement separate entry and execution of a new bearing.
There are many references for Arduino programming on the web, so I won’t try and duplicate them here. Suffice it to say you’ll need to spend a little quality time with the Arduino Development Environment (IDE) writing the uploading your code.
You can see the version 1 on my GitHub site if you’re curious about the code. It works well enough for the moment, and MLDX sends current bearings and receives new bearings successfully. Feel free to download and use it or modify it to suit you needs.
Version 1 works, but . . .
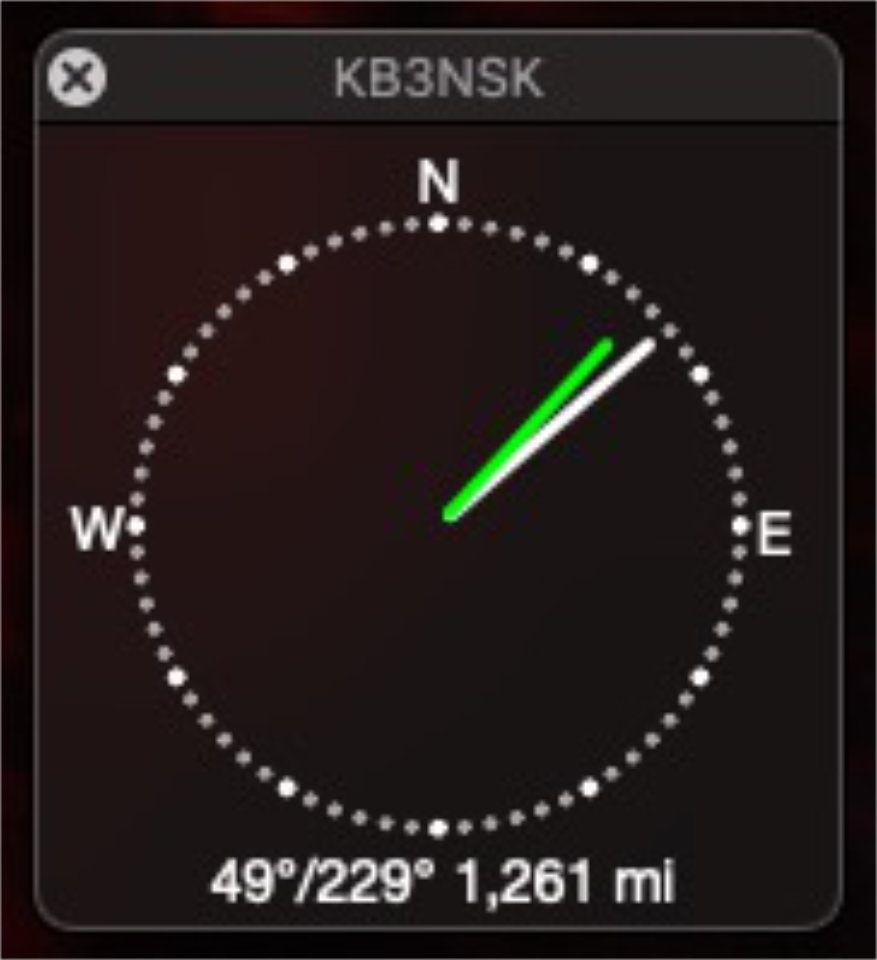
Improvements are possible. As currently implemented, the “Floating Bearing Display” in MLDX jumps immediately to the new bearing as if the beam has magically gotten there instantaneously. Of course, beams have inertia, and take up to a minute to reach a new direction. Code that simulated that by sending incremental bearings as the beam spins would be nice.
There is also a “stop” command in MLDX. It shows up as a button on the rotor control screen, and is sent as a semicolon “;”. I haven’t tried to implement it however since there is no equivalent on the Channel Master rotator. It could simulated by sending a single number instead of the usual 3 since that causes the rotator to pause.
Hardware

Finally on to the hardware. That’s the easy part. I’m using a MakerFocus Mini Nano V3.0. As of this writing, it’s available from Amazon for under $10. One caveat however. It is a Chinese copy of the Arduino Nano, and may require an additional driver to be installed for the Arduino IDE. Any Arduino should work for this project however.
The IR emitters are also available from Amazon and are commonly used with IR repeaters in home entertainment systems. You can also make your own with infrared LEDs and a little wire.
The Circuit
The circuit is simplicity itself. An IR emitter is connected between ground and pin D3 through a 220-ohm resistor. The center pin of the emitter’s 3.5 mm plug is positive, and connects to the Arduino-connected resistor.
This is Really Fun
It’s a small thing, but having the antenna change directions more-or-less automatically really helps. I enjoy working FT8 with MLDX and my K3 and saving a few mouse clicks matters. I like moving the detachable Floating Bearing Display to my second monitor, positioned over the GridTracker main map. It’s even possible to initiate a bearing change from that detachable window. Sweet!
If you’re looking for a way to get your feet wet in the microcontroller world, and you have an accessory that is controlled with an IR remote, this might be a good first project. I gained experience with MLDX, the Arduino, Mac serial connections and IR controllers. Not difficult enough to be frustrating, but a stretch for my digital chops. I’ll bet you’ve got something around the shack that could benefit from this approach as well!